
Installation Guides
Select a system to see how to get your system up and running correctly.


Blumat Drip Systems
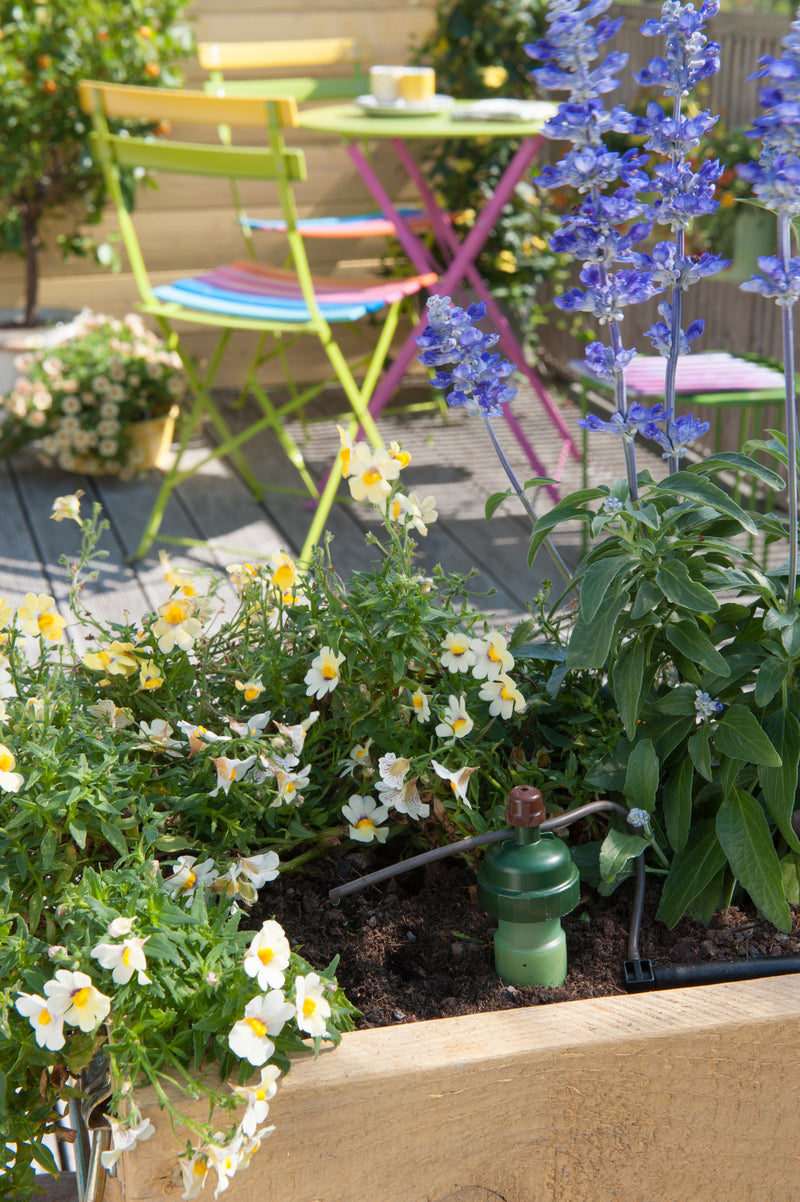
Installation Guide
How to Set Up Your System
Takes just a few minutes. Once set up, your plants water themselves.

Prepare the Sensors
Separate the ceramic cone from the green cap. Soak both in cool water for at least 15 minutes. Use a pipette or your thumb to push water into the cap holes and flush out any trapped air. Reassemble underwater so no air gets sealed inside.
Water the Soil
Pre-water the pot or bed thoroughly before installation. The sensor calibrates against the current moisture level, so the soil needs to be evenly moist at the start.
Place & Connect
Push the ceramic cone into the soil near the root zone until it is fully buried. Cut your 8 mm supply line and insert the included T-piece. Attach the 3 mm drip tube from the sensor to the T-piece.
Set the Flow
Open the adjustment screw counterclockwise until water drips visibly. Slowly tighten clockwise until you reach a hanging drop, then tighten two more arrow marks. That sets your baseline.

Reservoir height matters
A gravity-fed system needs the water level in your reservoir to sit at least 12 inches above your plants for steady flow. Higher is better — 2 to 3 feet is ideal for full systems with all 12 sensors running. If sensors at the end of the system have low pressure compared to the front, raise the reservoir.

Don't let the reservoir run dry
Once a gravity-fed system runs out of water, sensors can lose their water seal and stop sensing soil moisture properly, which can cause flooding when you refill. Keep the reservoir above 1/4 full at all times.
Blumat Classic
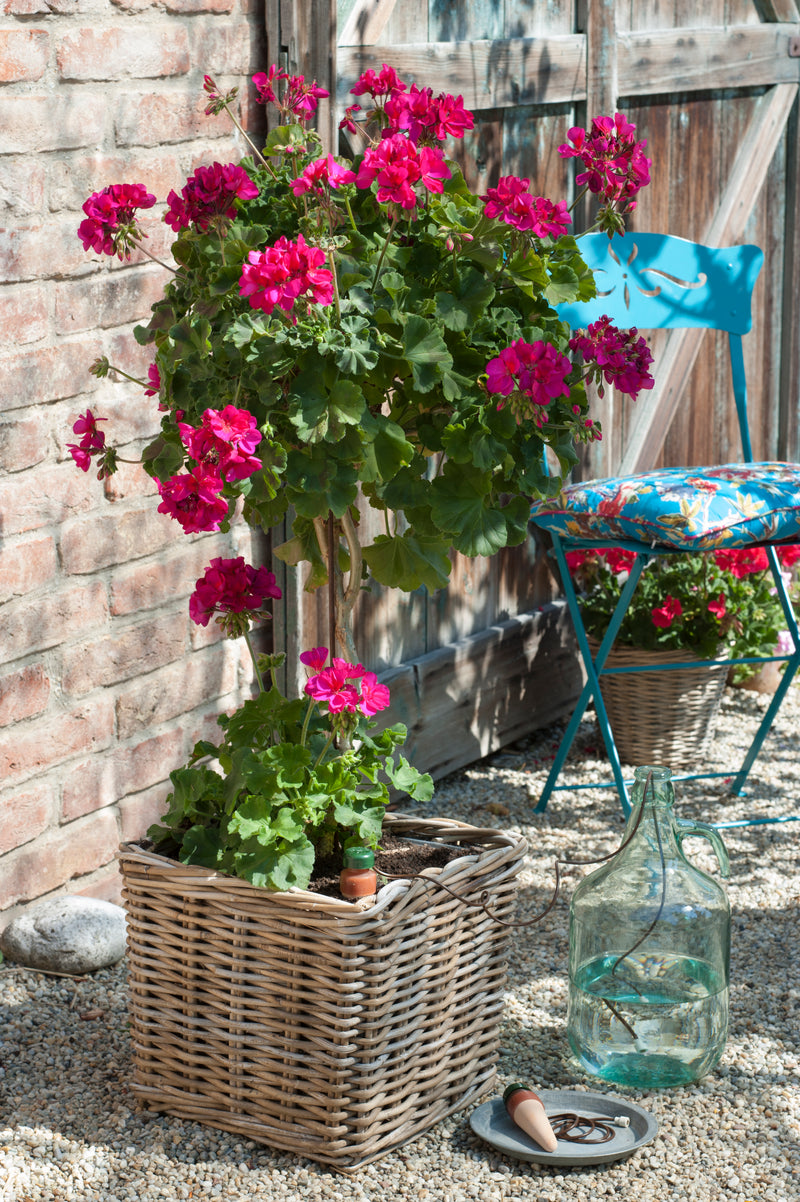
Installation Guide
How to Set Up Your System
Takes just a few minutes. Once set up, your plants water themselves.
Fill the Cone
Fill the clay cone completely with water and press the green cap on firmly.
Water the Plant
Start with damp soil so the cone can read the plant's moisture needs accurately.
Insert Near Roots
Push the cone into the soil close to the plant until all of the ceramic is submerged
Place Reservoir
Put the tube in a water container, ideally level with or slightly below the green cap.
Important setup note
Best for indoor pots and heavier soils. Lower the water source to reduce flow in lighter soils
First-water check
Check after the first day and adjust plant or reservoir height if the soil is too wet or too dry.
Blumat Easy
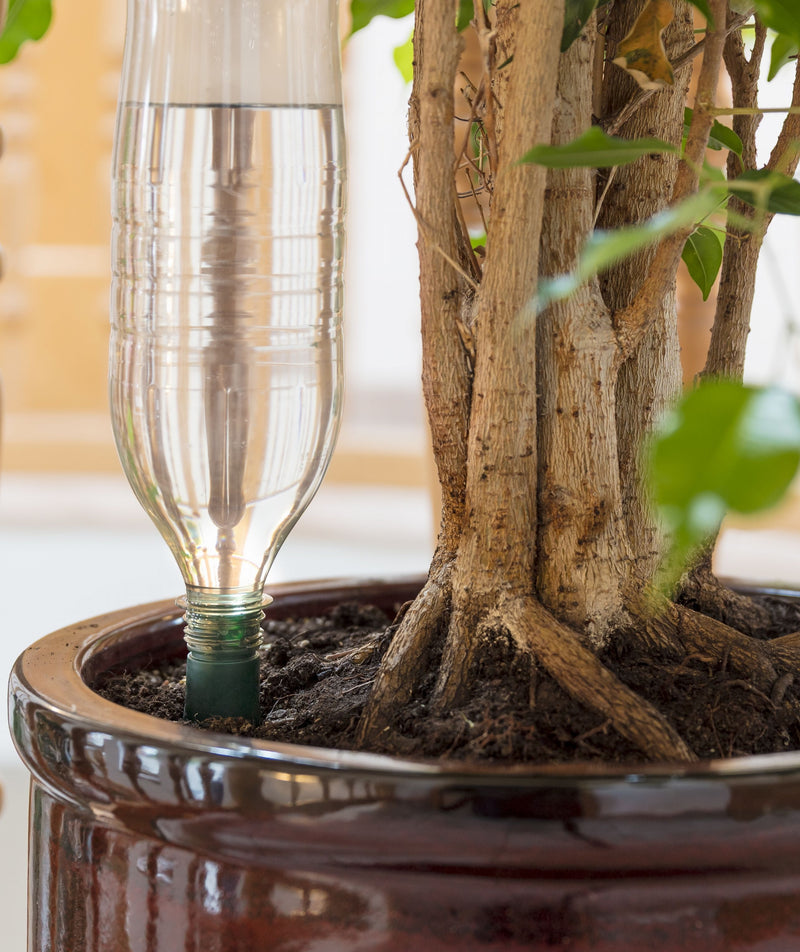
Installation Guide
How to Set Up Your System
Takes just a few minutes. Once set up, your plants water themselves.
Fill a Bottle
Fill a standard plastic bottle with water.
Attach Blumat Easy
Screw the Blumat Easy adapter onto the bottle.
Pierce Air Hole
Make a small air hole in the bottle base so water can flow steadily.
Insert Near Roots
Turn the bottle over and push the clay stake into moist soil.
Important setup note
Fits most standard plastic bottles from 0.5 to 2 liters.
First-water check
Check the system after the first day and adjust if the soil is too wet or too dry.
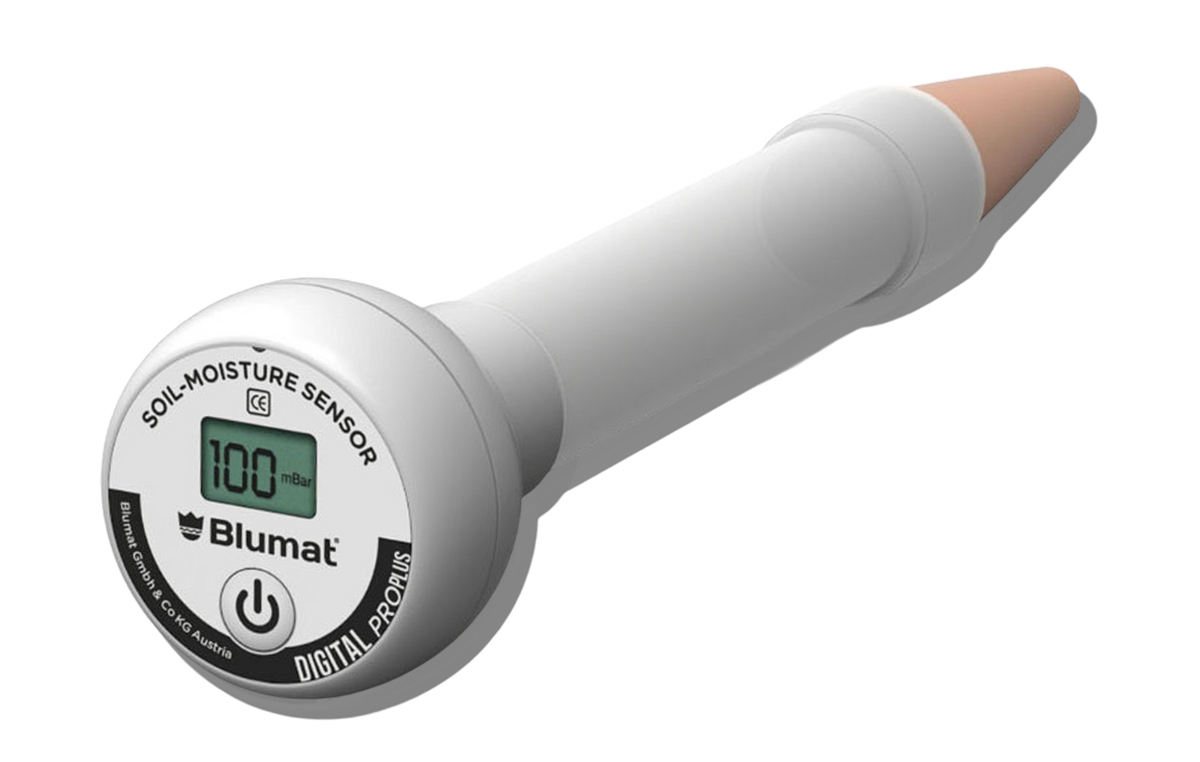

Authorized Distributor
We partner directly with Blumat to provide you with authentic, precision-engineered Austrian components.

Expert Support
Our team actually grows with these systems. We help you design the perfect setup for your greenhouse or garden.

3-Year Warranty
We stand behind our products. Every system is backed by a manufacturer’s warranty against defects.